WordPress is a very popular CMS most of the new websites are being built in this generation. No matter what purpose, for a personal blog, professional business, agency, or just a small business website, eCommerce, where not this CMS being installed this day. Every day it’s increasing the coverage on the web map.
And in other words, it’s also SEO-friendly too. And Google likes to rank fast-loading websites you may know that. In that case, if your WordPress website load slowly then you should immediately take steps to make it faster. Rebuild or recode is always not a good plan to make it faster especially if you have a lot of posts, content, or media on it. Here are some practical and probably easy tips that can make your WordPress website visibly faster. No coding experience is needed to do this. Just keep reading and act with your website like the description and steps below.
Image Optimization for WordPress website
No image on a website is impossible, even a lot of image appears nowadays since the image can express a lot of words than text, and graphics more than lingual. Some website has a lot of images. Ex: Photography Website, Portfolio Website, etc. If we could optimize the image then the load speed can effectively change. Let’s see how can we optimize images
Image Optimization for Web in Photoshop
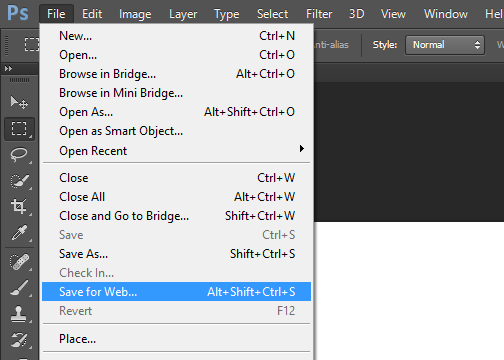
The image could be optimized in Photoshop too, by saving for the web versions. After doing the required things, or if nothing to do in Photoshop, just open the image and select “Save for Web” from the top File menu, or press “Ctrl+Shift+Alt+S” from PC or “Command+Shift+Alt+S” from Mac. Save like the image below.
Then Select PNG-24 or PNG-8 and mark keep transparency (if need to keep transparency or don’t want to use any extra white area of that image) from the right top, and Save. See the Save for Web setting shot below.
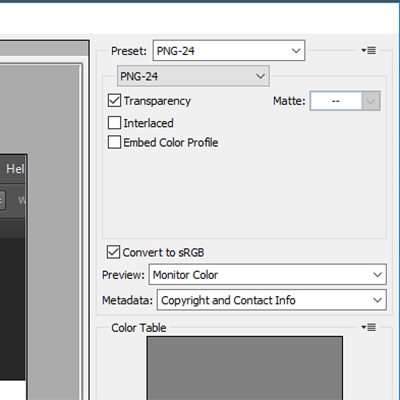
Image Optimization for the Web by Riot tool
RIOT(Radical Image Optimization Tool) is incredibly easy and effective for lost weights of any image. It has a bounce of self-features and options to control image optimization level, size, format, transparency, etc.
RIOT Official Download link: http://luci.criosweb.ro/riot/thank-you-for-downloading-riot/
It’s a very lightweight software with an easy interface the original look like below and optimization details below.
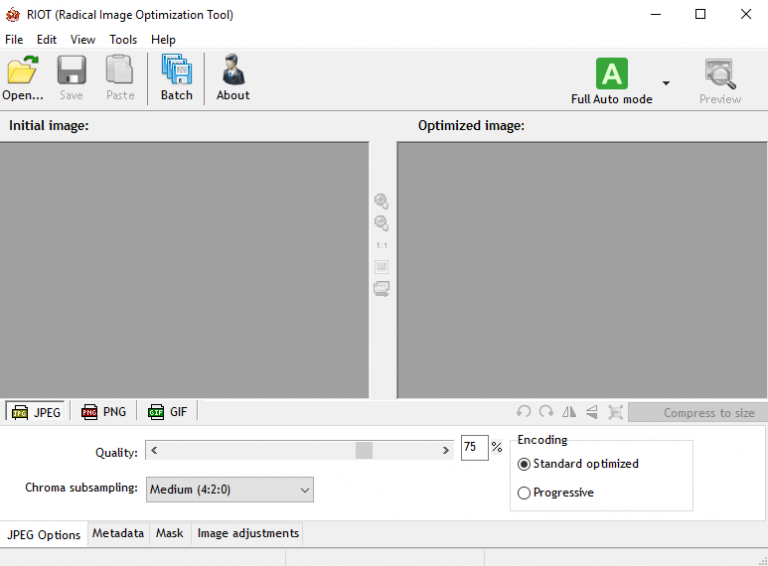
As there are two separate areas like before, you just need to drag the photo to the left side and you will see what the optimization look will be in the right area. On top of the image, you could see what was the original file size and what supposed to be after optimization.
You can also level the optimization quality to 10-100, see the image below for what area I mean and what you need to seek to suit your needs.
Finally, see on top save button, click on save and you will ask if you want to replace the photo with the original one or not, act what you want. And see how much file size is reduced. This reduction can effectively lessen your website load time.
Speed-up WordPress website using cache Plugin
There is some free and premium website caching plugin that can effectively speed up your website loading performance. I prefer “WP Super Cache” and you can find that one from the link below-
WP Super Cache: https://wordpress.org/plugins/wp-super-cache/
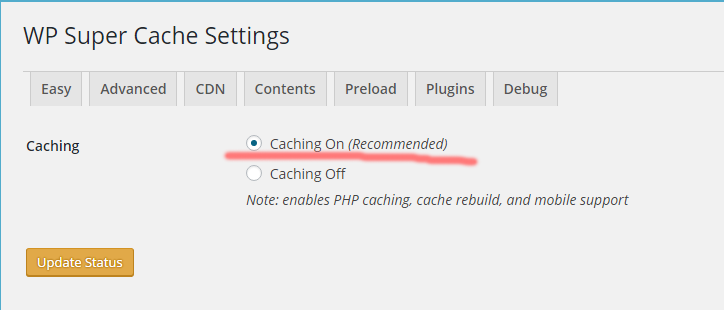
Install, activate, and ON the caching option from the settings page(Setting -> WP Super Cache). Then see how your WordPress website got improved loading time. It will be more liter than the previous one.
For these cache plugin techniques, there is a bounce of plugins in the plugin section for free will work just fine. But you have to check some settings to make sure everything works just fine. Like, as deleting the cache after publishing a new post or page, etc.
If you think that the tips were helpful then please share this tutorial so someone out there could be helped by.
This Post Has 0 Comments